Bread can be a little intimidating to make from scratch but it is very much worth it. I made (and kept) friends in my first year of university by baking up several fluffy white loaves of fresh bread every Friday and feeding them to my fellow starving, pot-noodle-fed students.
If you’re new to baking your own bread then this is the recipe to start with! I love making these rolls to go with this warming sweet potato, coconut & chilli soup, or with any other soup. Rolls are a lot easier to cook than whole loaves, as it’s a lot easier to tell when they’re ready. They’re also faster and cuter. So why not give these a try?
The smell of fresh bread is wonderful and tearing into warm rolls and having your butter melt into them before stuffing them in your mouth is a fantastic feeling. If you don’t make at least one friend by feeding them these rolls straight out of the oven, please feel free to hunt me down and I will be that friend.
Prep time: 1 hour 30 minutes (though you’re not doing anything for 80 minutes of that – it’s rising time)
Cooking time: 15 minutes
Makes 6 rolls
Ingredients
300g rye flour
300g strong white flour
400ml warm water (you’re aiming for just above tepid: warm and comfortable to your fingers but not too hot or you’ll kill off the yeast and your bread won’t rise)
100ml oil
1 sachet fast action yeast
salt
2 tbsp honey/alternative sweetener
1. Either in a big mixing bowl or on a clean work surface, mix all of your ingredients together. And then knead your dough for about ten minutes. Since explaining how to knead is quite hard without demonstrating, here’s a tutorial on mixing and kneading your dough, complete with an adorable kid’s voiceover.
2. You want to knead to develop the gluten in your dough: about ten minutes should do it. But if you’re not sure, a good test is to take a piece of dough, stretch it and hold it up to a light source. If you can see light through it without it breaking then you’re good to go! If not, keep on going!
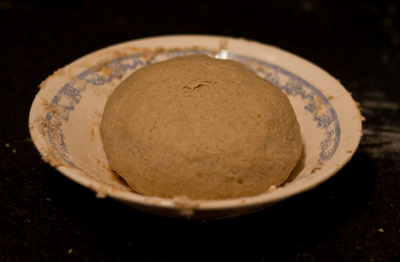
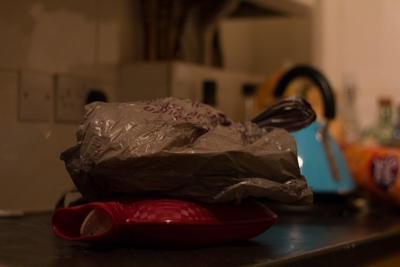
3. Once your gluten is all nicely developed, shape your dough into a ball and place it back in your mixing bowl. Then grab a plastic carrier bag or bin bag and put your bowl inside and tie the bag up. Don’t worry about having gaps in the bag. As long as you have some kind of vague covering over the dough you’re all good.
4. Now, if you have a warm house or a proving drawer then just leave your dough to sit for about an hour or until it bounces back when you poke it. However, if, like me, you are also trying your best to save on heating bills, you can use the trick I developed when living in a vast, very cold house last year. It just involves filling up your hot water bottle and then placing the bowl (with the dough in) on top of said hot water bottle before wrapping the whole thing in a blanket or two to insulate it. Eat your heart out, Bake Off.
5. When your dough bounces back happily upon poking, tip it out onto a floured work surface. Put your oven on to preheat at 220°C. Divide the dough into 6 even pieces and then shape them. Here’s another tutorial on how to do that (this time with siri teaching you).
6. Flour a baking tray and your rolls lightly and pop the rolls onto the tray. Then put your bag from earlier back over them for about ten minutes, until they’ve puffed up a bit. Just before you put them in the oven, take a sharp knife and slash the tops (but not too violently- just a few diagonal cuts will do).
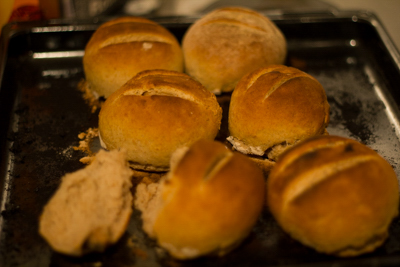
7. Once they’re in the oven, give them about 5 minutes at 220°C and then turn the temperature down to 160°C and leave them in for about another 10 minutes. But keep an eye on them because timings will vary depending on your oven.
8. To test if they’re done, take a roll out and give it a tap on its underside: if it sounds hollow they’re done. Take them out of the oven and place the rolls on a cooling rack. Once they’re cool enough to eat, tear into them, smother them in butter or dip them in soup and enjoy!

For some Black women, slimness equals safety
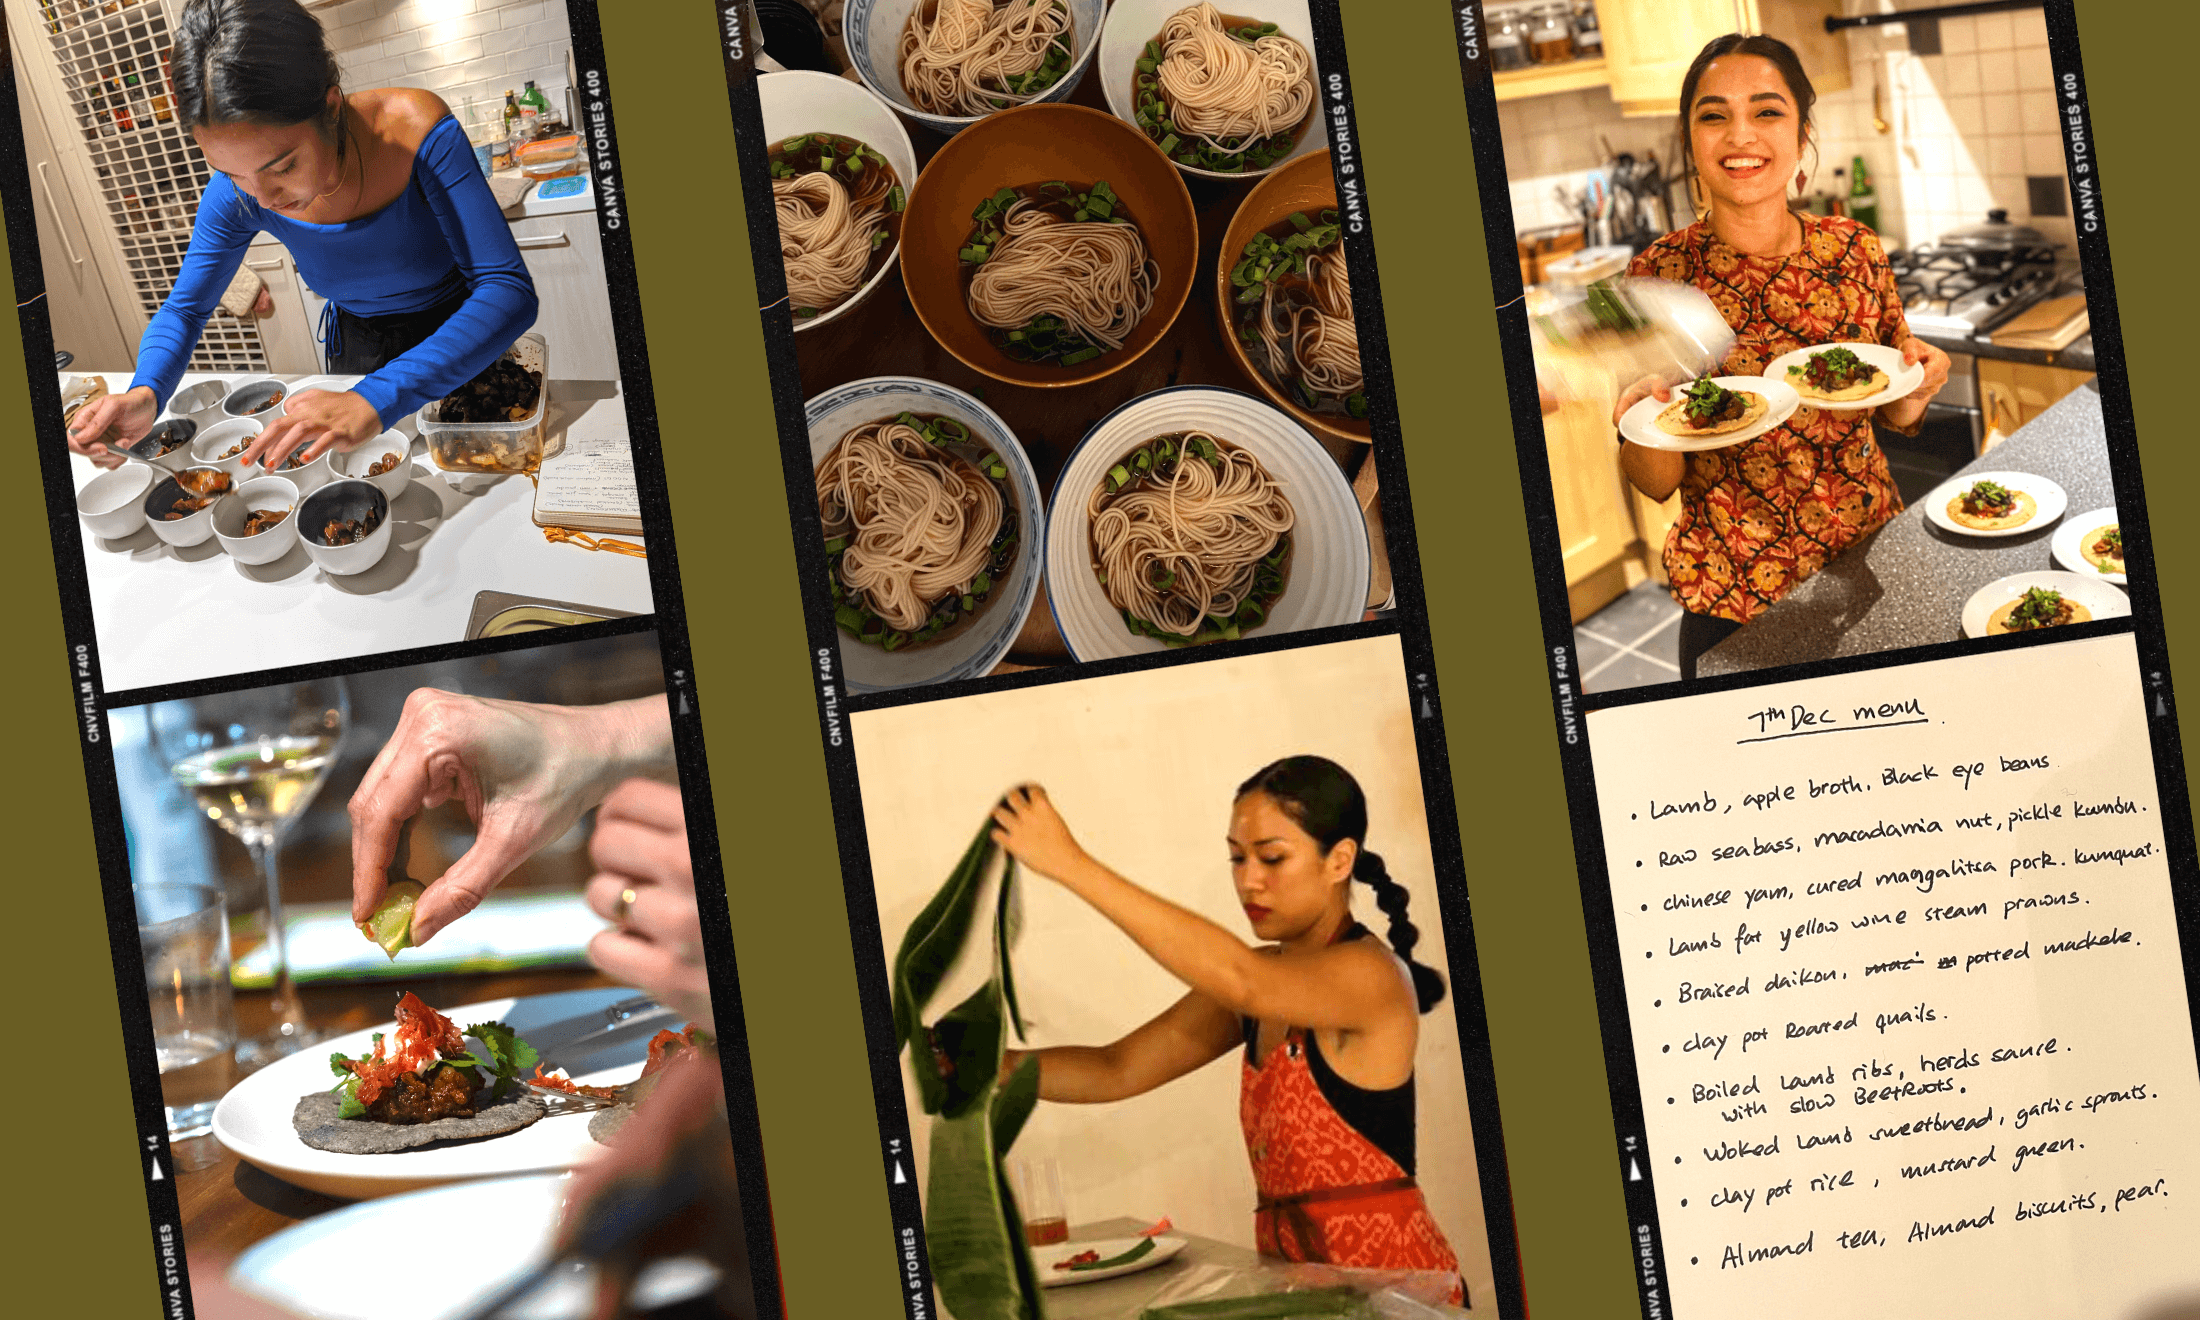
12 POC-run supper clubs you need to join in 2023
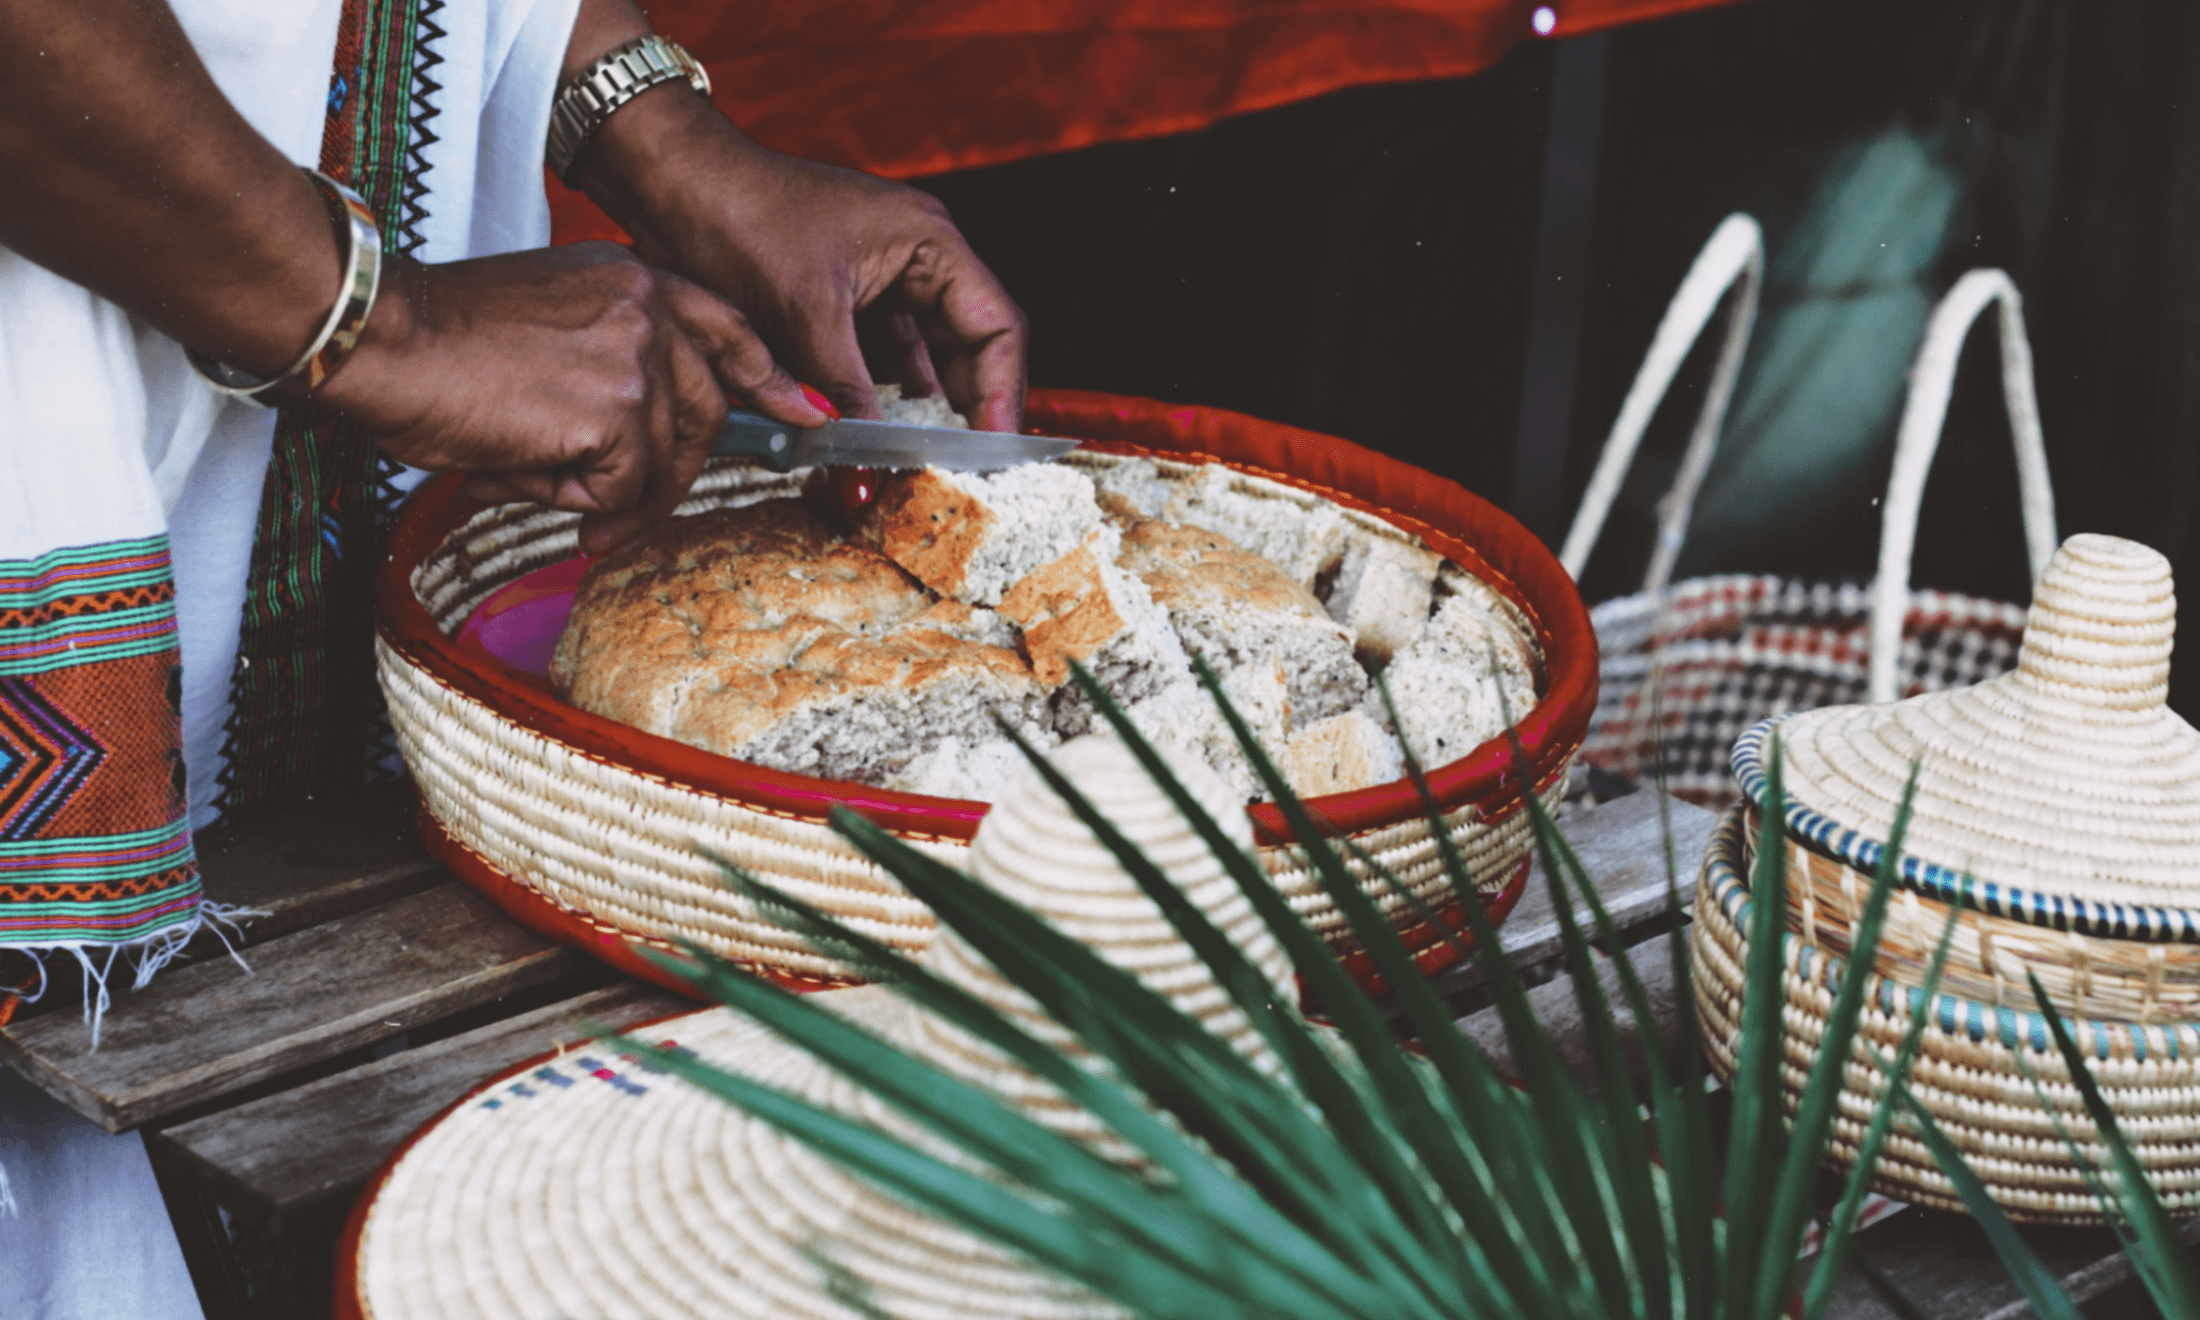
Home for the holidays: celebrating Ethiopian and American festive traditions

These portraits are an intimate look at the people fighting hunger in Liverpool